Most homeowners focus on which AC brand or model to buy. That is a reasonable place to start. But here is something that does not get talked about enough: a mid-range system installed correctly will outperform a premium system installed poorly on every measure that matters.
The installation quality determines how efficiently your system runs, how well it controls humidity, how long it lasts, and how often it needs repairs. In Monroe, where your AC carries your home’s comfort from late April through October, the stakes are high.
This guide walks you through every step of a proper AC installation so you know what a professional job looks like before you hire anyone.
Why Installation Quality Matters More Than People Think
A poorly installed AC system can cost you more in energy bills, deliver uneven temperatures, fail to control humidity, and break down far sooner than it should. None of this is visible on day one. It shows up gradually over months and years.
Understanding the installation process lets you ask the right questions upfront and hold your contractor to the right standard.
Step 1: In-Home Estimate and Load Calculation
Before a single piece of equipment is ordered, a trained comfort specialist should visit your home. This visit determines whether your new system will actually work correctly for your specific home.
The technician measures your space, checks insulation levels, assesses existing equipment, and reviews your ductwork. The most critical part is the Manual J Load Calculation, which determines exactly how much cooling capacity your home needs based on its specific dimensions, layout, and thermal characteristics.
Getting size right is especially important in Monroe. An oversized system short-cycles, which means it cools too fast, shuts off before removing meaningful humidity from the air, and leaves your home feeling sticky and clammy despite running constantly. An undersized system runs nonstop and cannot keep up on the hottest summer days.
Never accept a contractor who sizes your system without running this calculation. Matching the old unit or guessing based on square footage alone produces unreliable results.
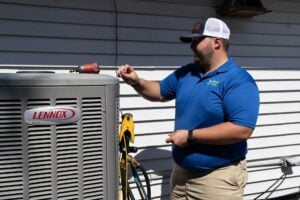
Step 2: The Install Team Arrives
A professional company will call or text before arriving and provide the technicians’ names. When the lead installer arrives, they review the full job scope with you before anything starts. Floor protection goes down and the crew gets to work.
Step 3: Powering Down the Old System
All electrical circuits and gas supply to the existing equipment are shut off before any removal begins. This is a non-negotiable safety requirement.
Step 4: Removing the Old Outdoor Unit
Your existing AC system contains refrigerant that must be captured using a certified recovery machine before the unit is removed. The EPA prohibits venting refrigerant into the atmosphere. Every technician who handles refrigerant must hold individual EPA certification.
After refrigerant recovery, electrical connections are cut. A professional installation replaces both the outdoor disconnect box and the flexible electrical connection (the whip) at this stage. Reusing old wiring with a new system is a common shortcut that creates problems down the road.
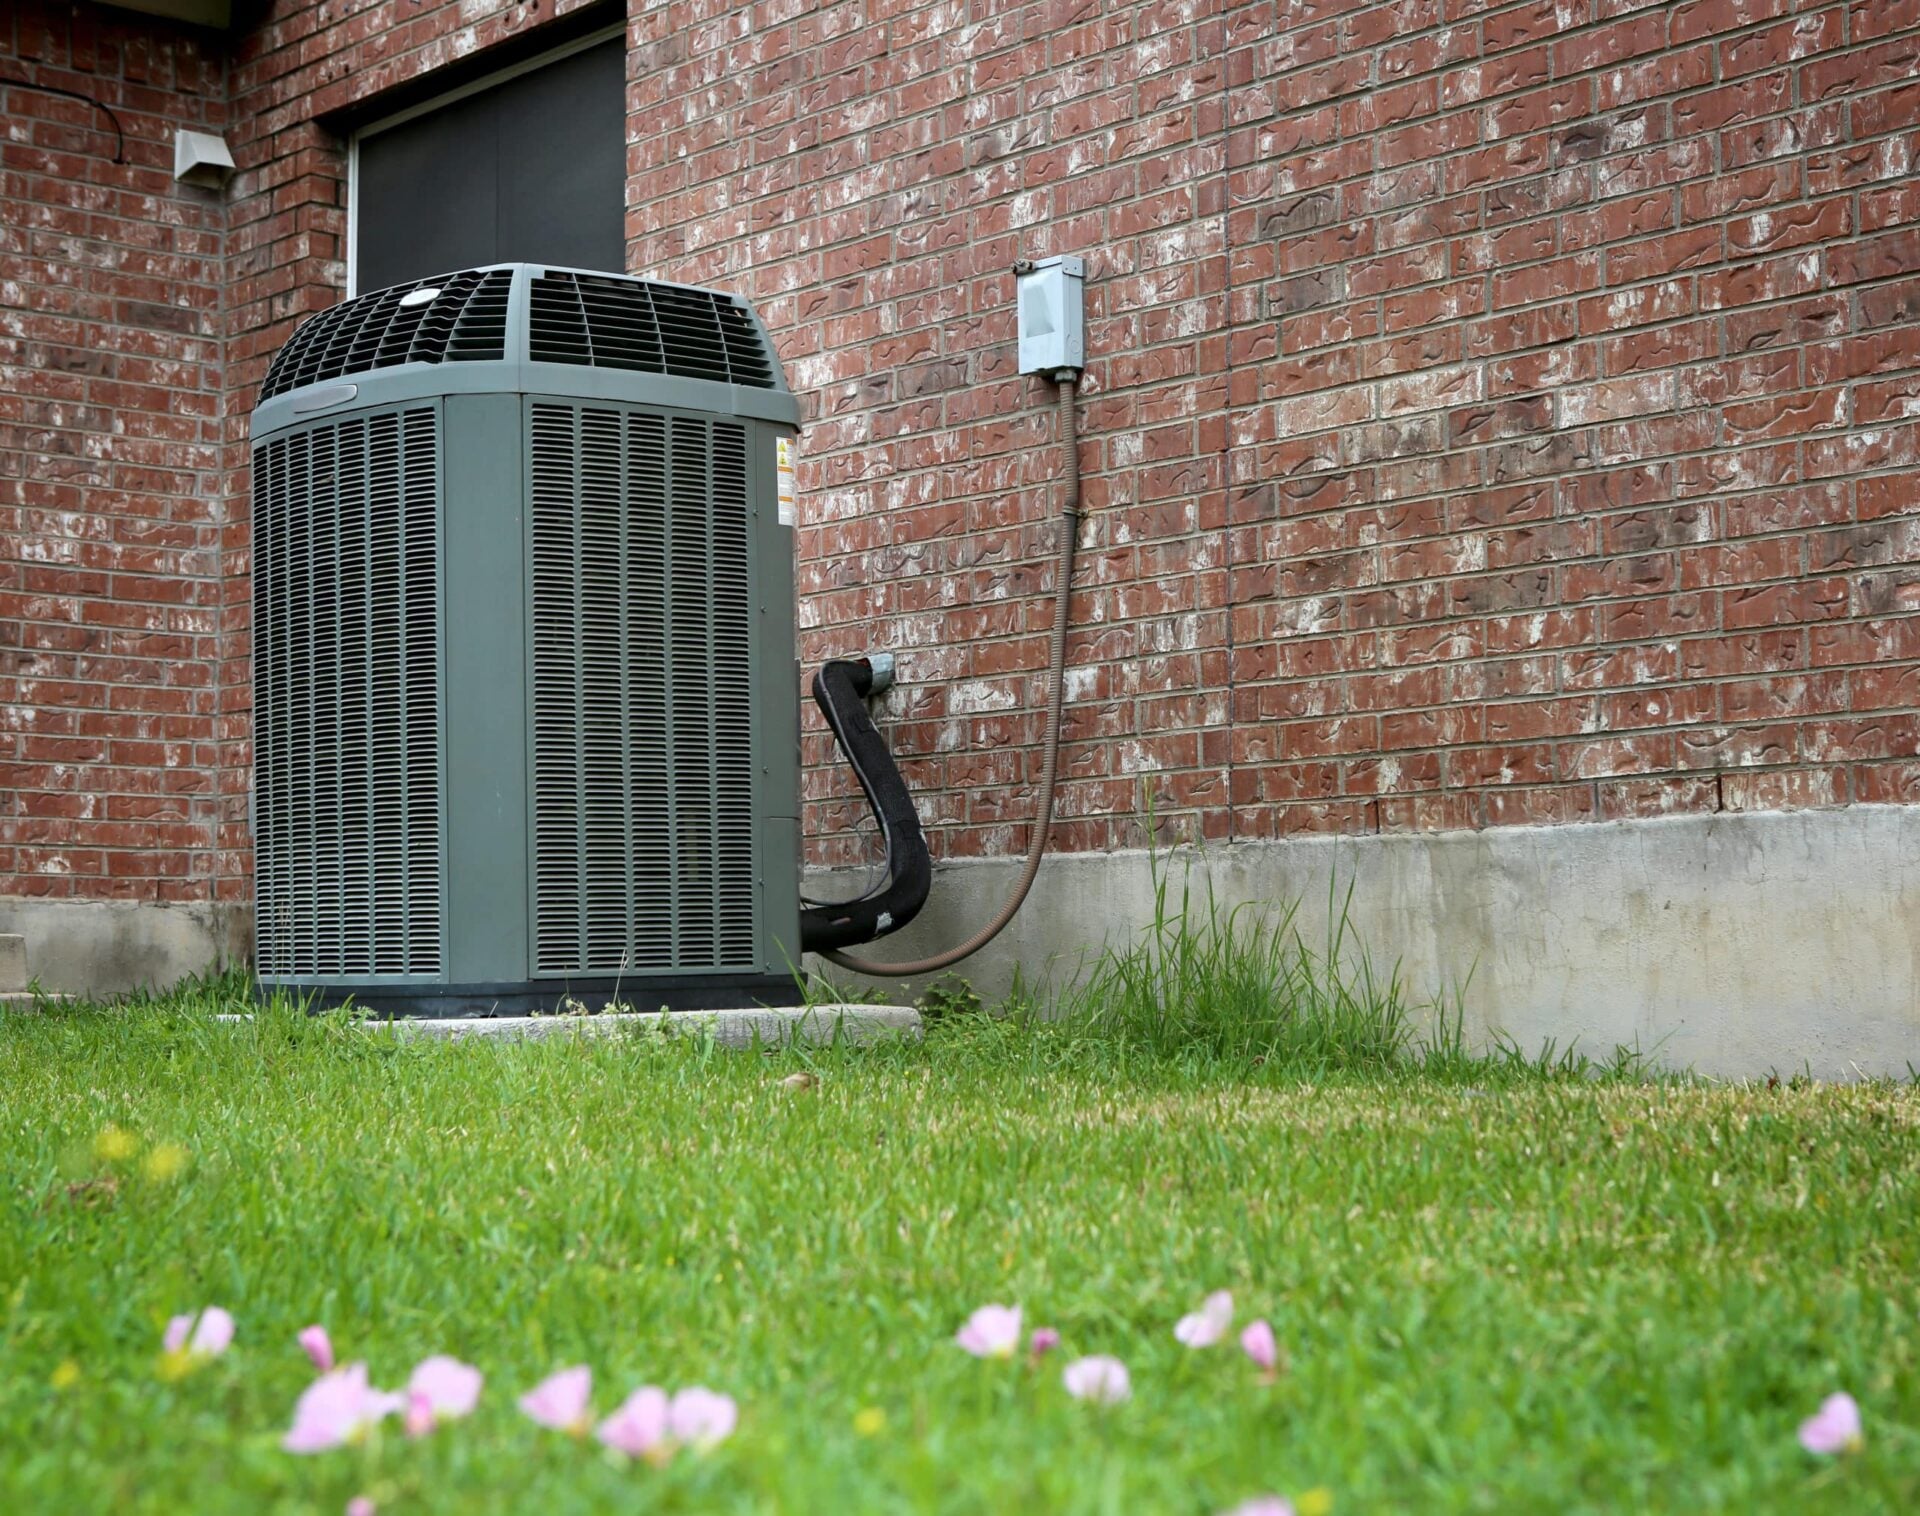
Step 5: Preparing the Outdoor Pad
Modern AC units are physically larger than older models because bigger coils drive higher efficiency. The existing pad often needs to be releveled or modified.
The new unit sits on a composite pad designed specifically for outdoor HVAC use. Composite absorbs vibration, does not crack or shift over time, and outlasts the system. Concrete pads look solid but crack and shift, and correcting them later requires moving the unit.
Step 6: Removing the Indoor Coil
The evaporator coil sits above or below your air handler inside the home and must come out before the new one can go in. Tight utility closets and attic-mounted equipment common in Monroe’s older homes slow this step down. Modern coils are also taller than older ones, so the sheet metal plenum surrounding the coil may need to be adjusted.
Step 7: Running the New Refrigerant Lines
The two copper pipes connecting the outdoor unit to the indoor coil are called the line set. These almost always need to be replaced when a new system is installed. Older refrigerant systems use a different oil than modern systems, and mixing those oils damages the new compressor over time.
The exception is when lines are enclosed in finished walls or underground, in which case they must be thoroughly flushed and pressure tested before use.
New lines should run as straight as possible, be secured every four to six feet, and never make direct metal-to-metal contact with clamps, which creates corrosion over time.
Step 8: Setting the New Outdoor Unit
With the pad ready and lines run, the new outdoor condenser is positioned. The installer checks for shipping damage before any connections are made. If damage is found, you have the right to know about it and to request a replacement.
Refrigerant lines connect to service valves on the unit. These valves allow future technicians to isolate refrigerant during service calls, which saves money on every future repair.
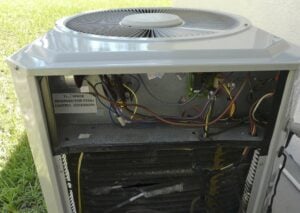
Step 9: Brazing, Pressure Testing, and Deep Vacuuming
This is the section where the quality gap between contractors is largest and where the long-term performance of your system is decided.
Brazing permanently joins the copper refrigerant connections using an oxygen-acetylene torch and a silver-based filler rod. During brazing, dry nitrogen must flow through the lines to prevent oxidation inside the copper. Without nitrogen, microscopic contamination forms inside the lines and shortens compressor life. No nitrogen purge during brazing is a serious red flag.
Pressure testing follows brazing. The system is pressurized with nitrogen and held for at least ten minutes. Any pressure drop means there is a leak that must be found and repaired before refrigerant can be introduced.
Deep vacuuming comes after a clean pressure test. The entire refrigerant circuit is evacuated to remove air, moisture, and contaminants. Moisture inside a refrigerant system forms acids that destroy internal components over time. The vacuum must reach 500 microns or lower and hold there. Only after the vacuum holds is refrigerant released.
Many contractors rush or skip these three steps. This is where the difference between a system that runs well for 15 years and one that needs a compressor in 5 years gets made.
Step 10: Electrical Connections
A new disconnect box is mounted near the outdoor unit. The low-voltage control wire connecting your thermostat to both the indoor and outdoor equipment is connected. If your home’s electrical setup needs updating to support the new system, this is when that work happens.
A new thermostat is often installed at this stage. Modern smart thermostats connect to your phone, allow scheduling, and give you visibility into your energy use in ways older thermostats cannot.
Step 11: Condensate Drain Line
As your AC cools the air, it removes moisture that must drain through a PVC condensate line. This line needs correct slope, a trap, and an overflow safety switch. If the drain ever clogs, the safety switch shuts the system down before water can damage your ceiling or flooring. In Monroe, where AC systems run for months at a time, algae-related drain blockages are a common service call.
Step 12: Ductwork Check
Before calling the job complete, your technician should inspect your ductwork for visible leaks or damage. Monroe homes, especially those built between the 1970s and 1990s, frequently have significant duct leakage that has built up over decades. Leaky ducts can reduce your system’s effective output by 20 to 30 percent. If your ducts need attention, ask about our duct cleaning service.
Step 13: Startup and Commissioning
With everything connected, the system is powered on and a proper commissioning process begins. This is not a five-minute step. The technician collects and records:
- Suction and liquid line pressures and temperatures
- Superheat and subcooling readings
- Supply and return air temperature differential
- Voltage and amperage on all motors
- Static pressure across the duct system
- Airflow in CFM
- Refrigerant added, if any
These readings confirm the system is working within manufacturer specifications and create a baseline for future service calls. A technician who turns the unit on, verifies there is airflow, and leaves has not completed a commissioning.
Step 14: Cleanup and Final Walkthrough
All old equipment is removed and hauled away. Floor protection is picked up. The work area is left clean. The lead technician walks you through what was installed, how to use your thermostat, and what maintenance your system needs going forward.
Red Flags to Watch For on Any Monroe AC Installation
- No Manual J Load Calculation
- No permit pulled for the job
- Refrigerant vented instead of recovered
- Old line set reused without flushing and testing
- No nitrogen purge during brazing
- Vacuum skipped or not reaching 500 microns
- No commissioning data collected and recorded
- Old equipment left behind